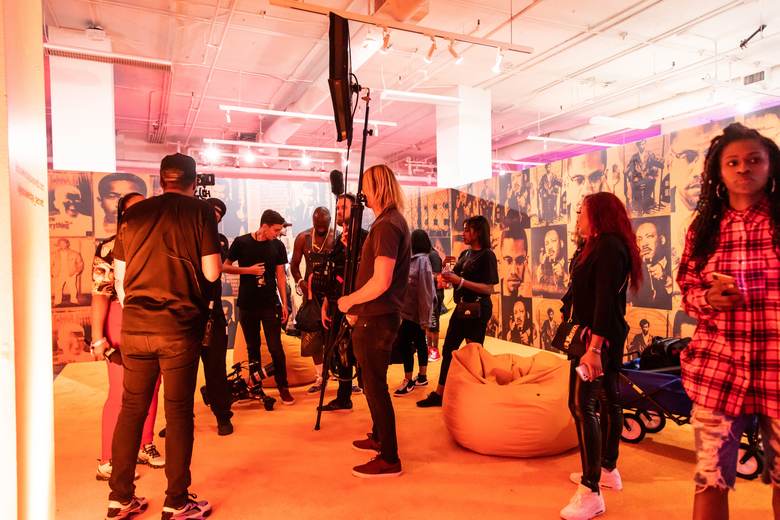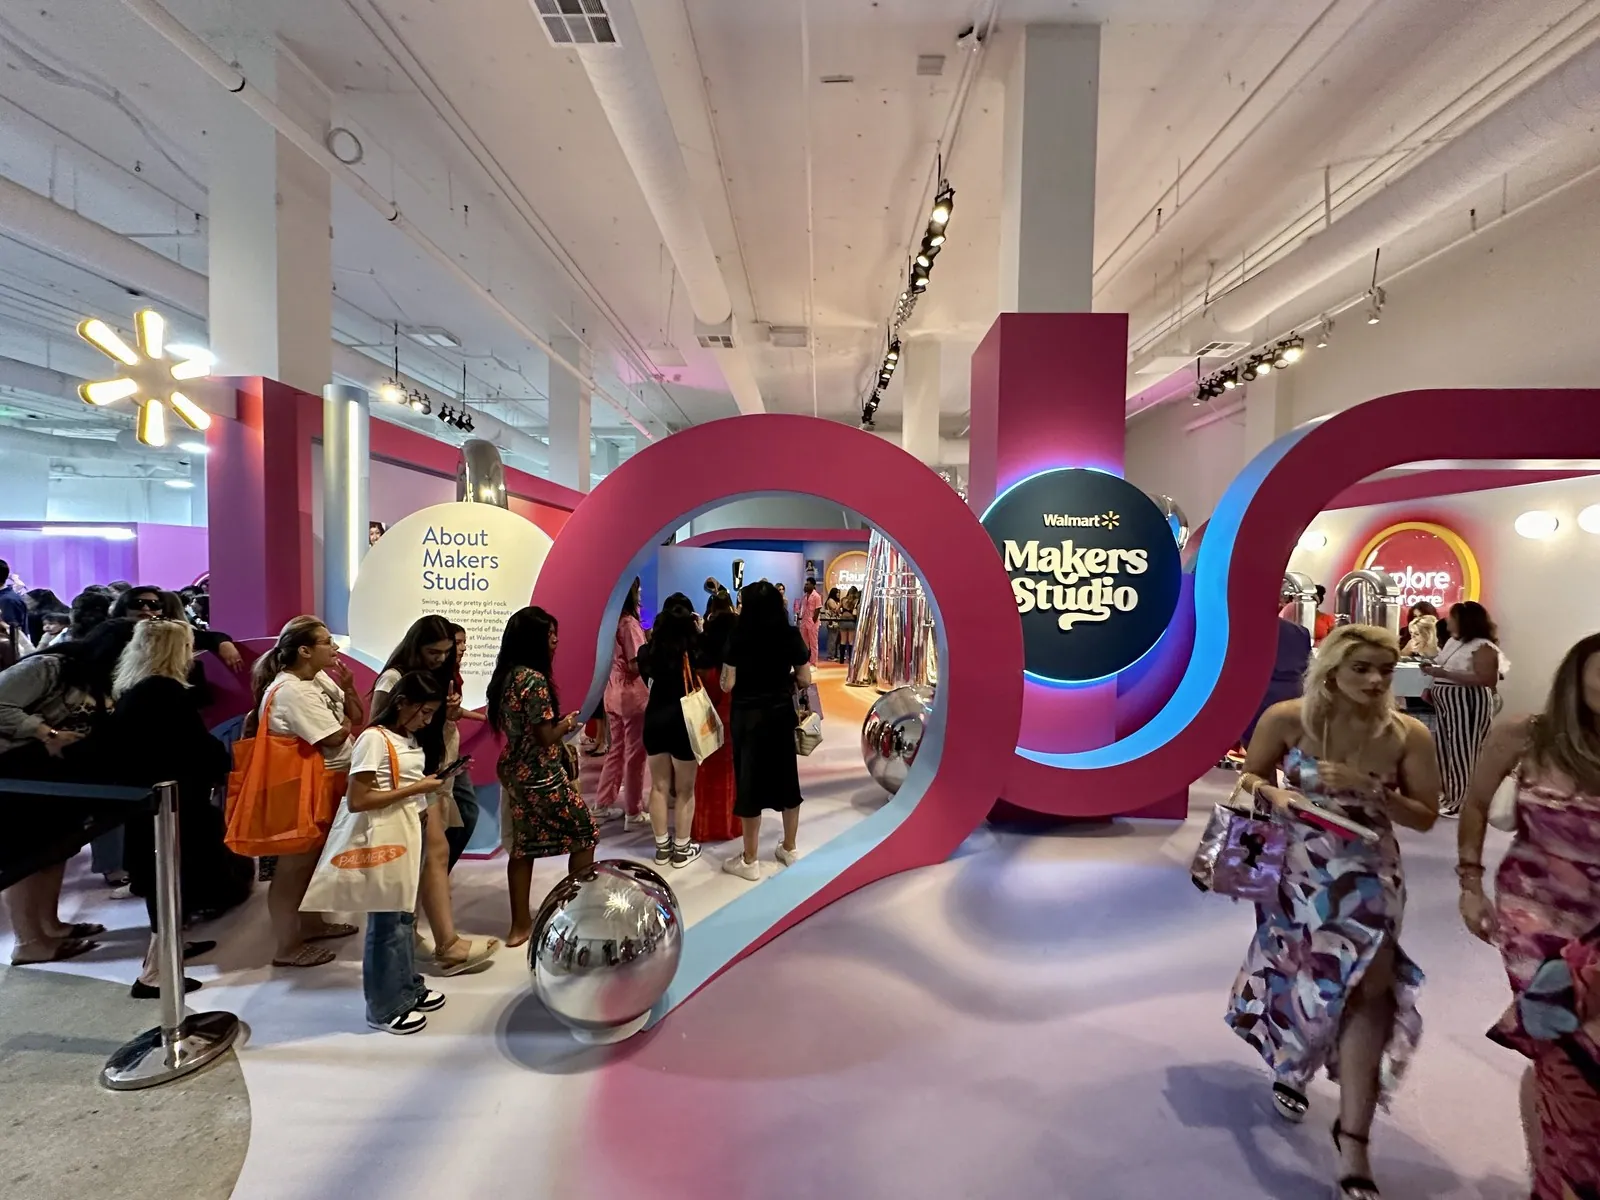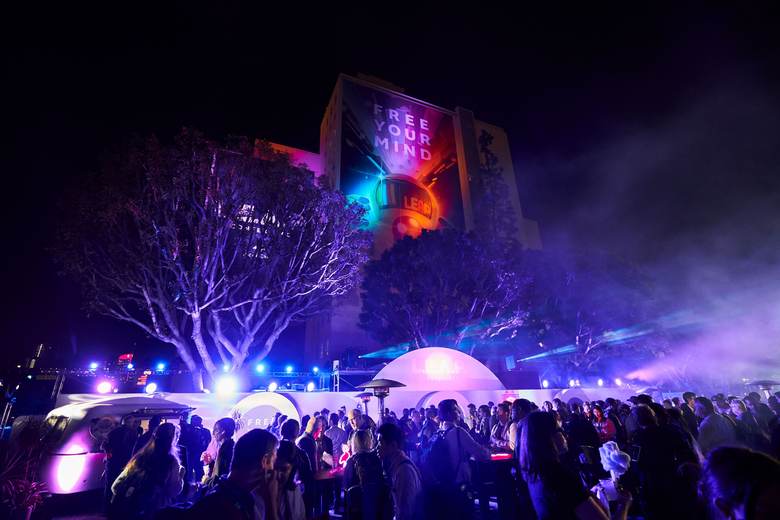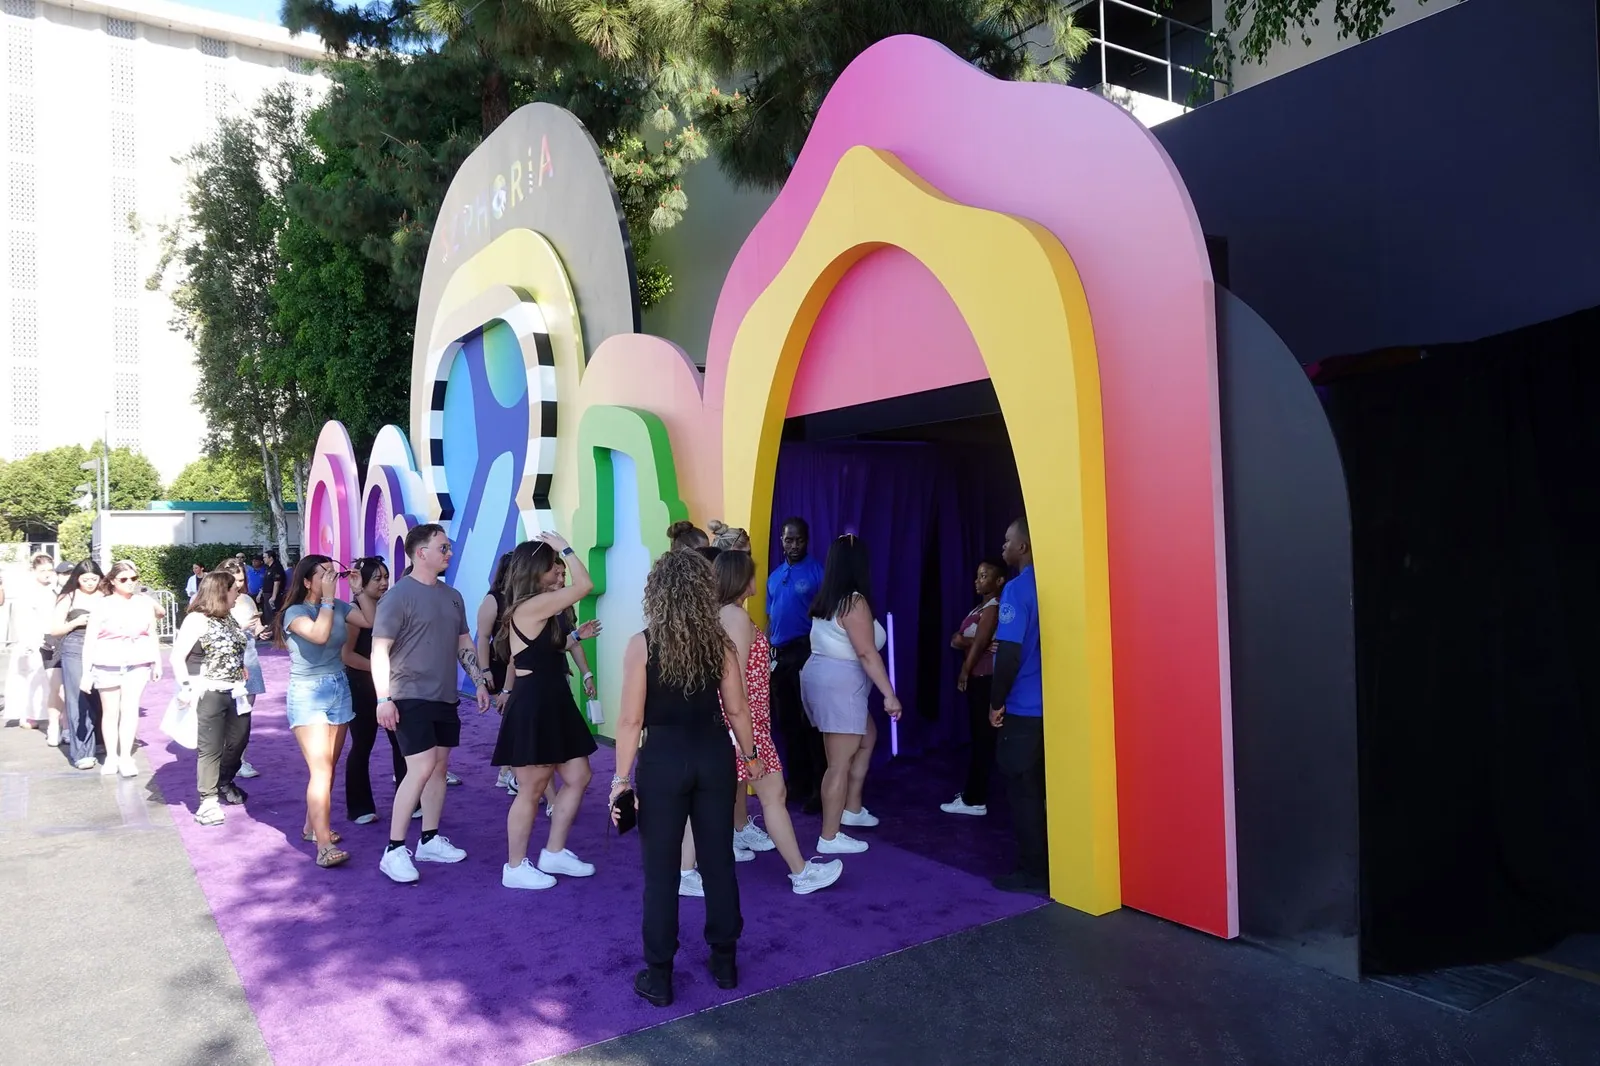
A planner decides whether to keep reading your listing in about three seconds, and what holds their attention in those three seconds is almost always a photo. The copy matters, but the image is what stops the scroll. A venue with a strong room and weak photos loses to a lesser room shot well, every single time a planner is comparing options side by side.
The encouraging part is that great venue photography is mostly about preparation and a handful of repeatable choices, not expensive gear. Operators who get this right do not necessarily spend more. They stage the room properly, shoot at the right time of day, and capture a deliberate set of images that answer the questions a planner has before they ever pick up the phone.
How Do You Photograph an Event Venue So It Books?
You photograph an event venue so it books by staging the room as if a real event were about to start, shooting in soft natural light, and capturing a deliberate shot list that shows scale, atmosphere, and the practical spaces. The goal is to let a planner picture their own event in the room within a few seconds, which is what turns a scroll into an inquiry. The sections below break down how to do each piece.
Stage the Room Before You Shoot
An empty room photographs as an empty room, and empty rooms do not sell. Before any camera comes out, set the space the way it would look 15 minutes before doors open for a real event.
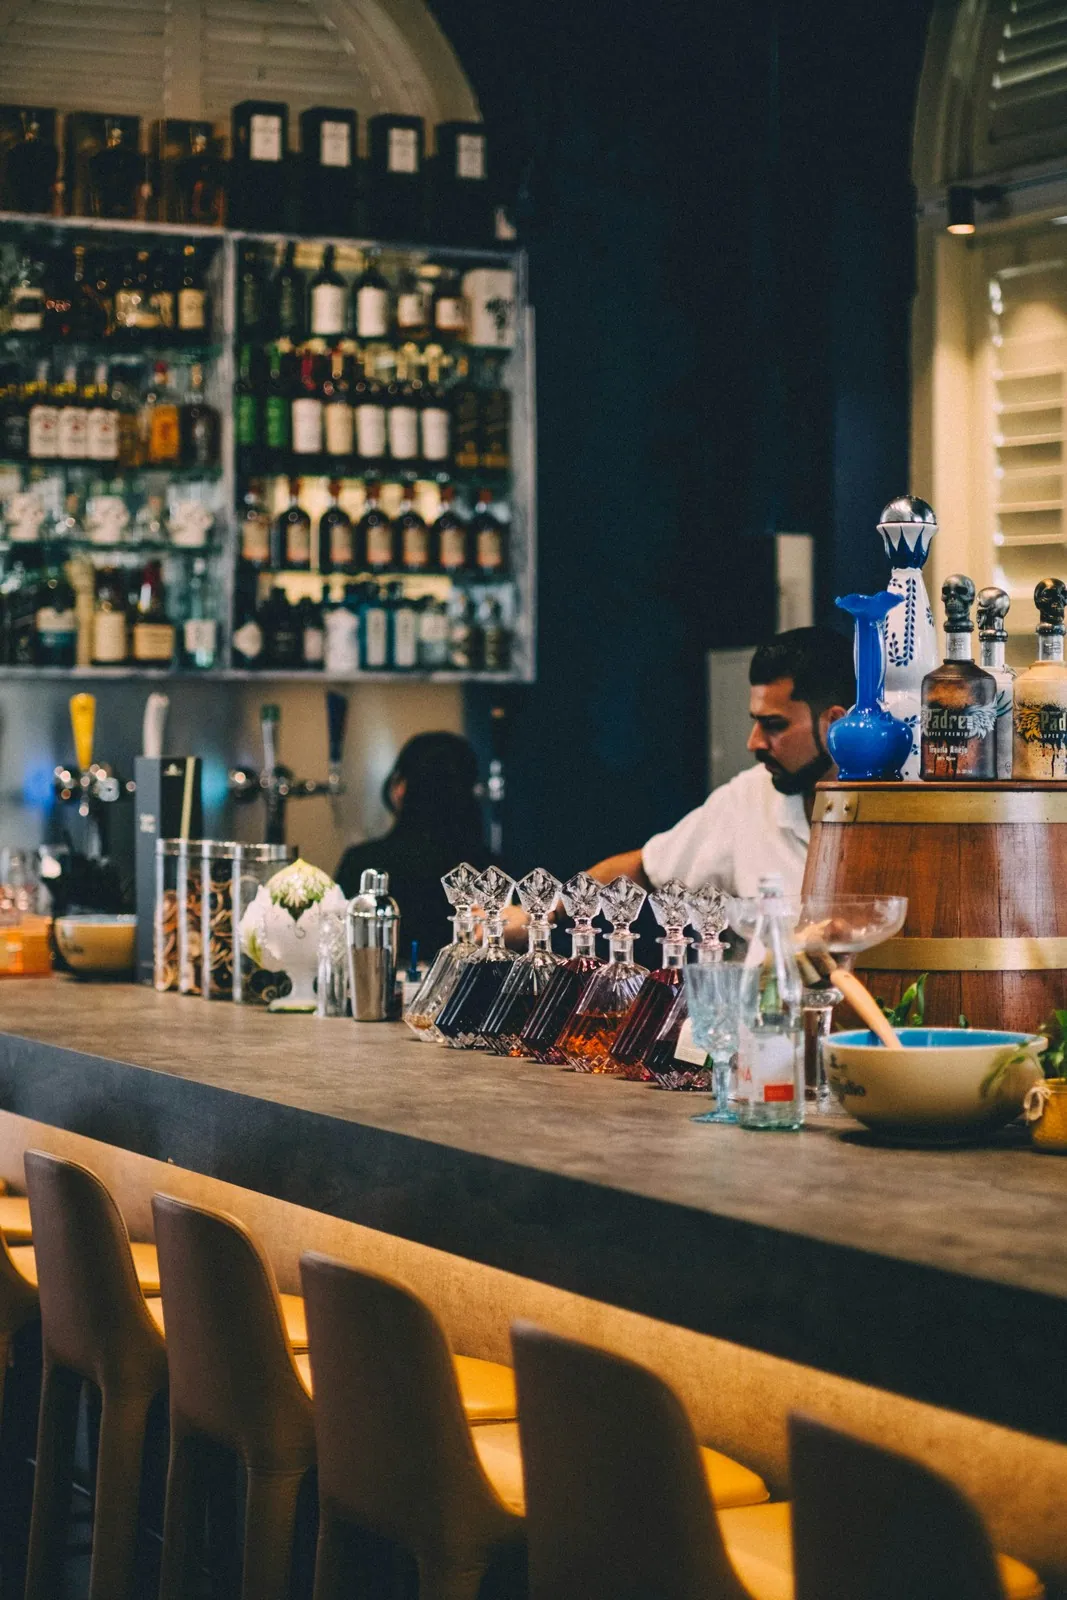
That means tables and chairs in a real layout, not stacked against the wall. It means a few place settings, some greenery or simple centerpieces, and the lighting on. You do not need a full event built out. A single styled long table, one set lounge area, and a bar with glassware staged on it give a planner three concrete pictures to react to.
Then do the unglamorous part. Clear the clutter. Coil and hide cables, move trash bins and cleaning carts out of frame, wipe down surfaces, and check that nothing in the background dates the photo. The most common reason a good room photographs poorly is rarely the room itself, it is the extension cord nobody noticed in the corner.
Shoot at the Right Time in the Right Light
Light is the variable that separates a professional-looking photo from a phone snapshot, and the best light is usually free.
For interiors with windows, shoot during the day when soft, indirect light fills the room, often mid-morning or mid-afternoon rather than harsh noon. Turn on every interior light so the room reads warm instead of flat. Avoid mixing a bright window with a dark room, since the camera will blow out one and lose the other.
For outdoor spaces and rooftops, the hour after sunrise and the hour before sunset, the so-called golden hour, makes almost any space look its best. A rooftop shot at golden hour with the bar staged and string lights on will outperform the same space shot at midday by a wide margin.
Capture the Full Shot List
A booking-ready listing needs a deliberate set of images, not 30 versions of the same angle. Aim to come away with this core set.
- One hero shot that captures the feeling of an event in full swing
- One or two wide shots that show the true scale of the main space
- Styled setups for each event type you host (wedding, corporate, social)
- Empty-room shots so planners see exactly what they are renting
- Detail shots: the bar, a place setting, architectural features
- The practical spaces: parking, prep kitchen, restrooms, load-in area
The wide shots and the empty-room shots matter more than operators expect. Planners want the atmosphere, but they also want to confirm the room is really as big as it looks and to see it bare so they can imagine their own design.
Balance Styled Shots and Real-Event Shots
Styled photos sell the dream, and real-event photos prove it is real. The strongest listings use both.
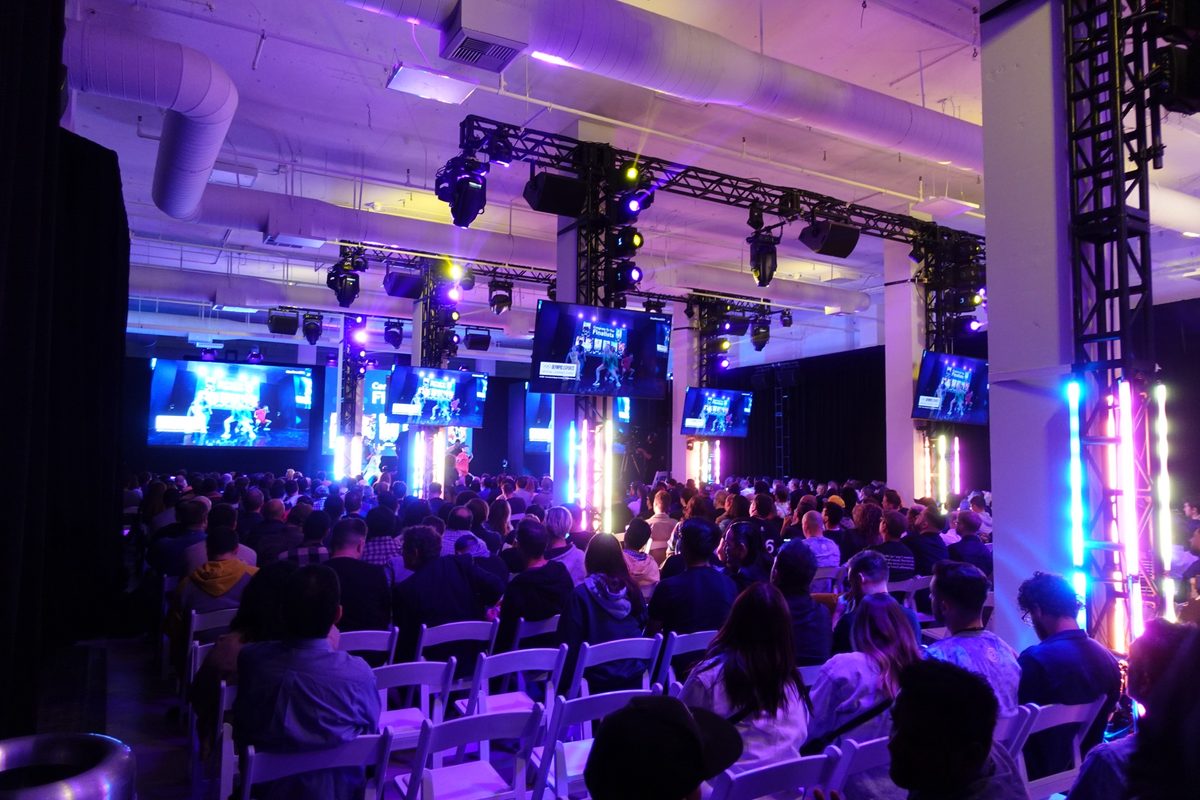
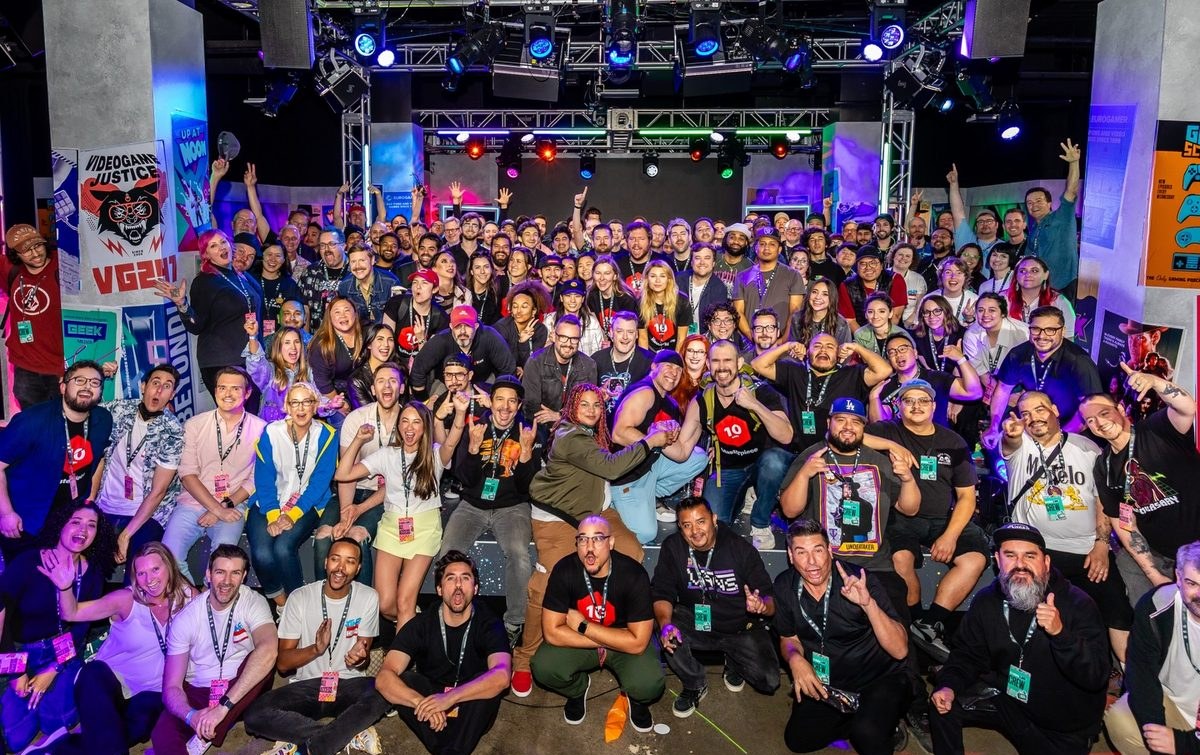
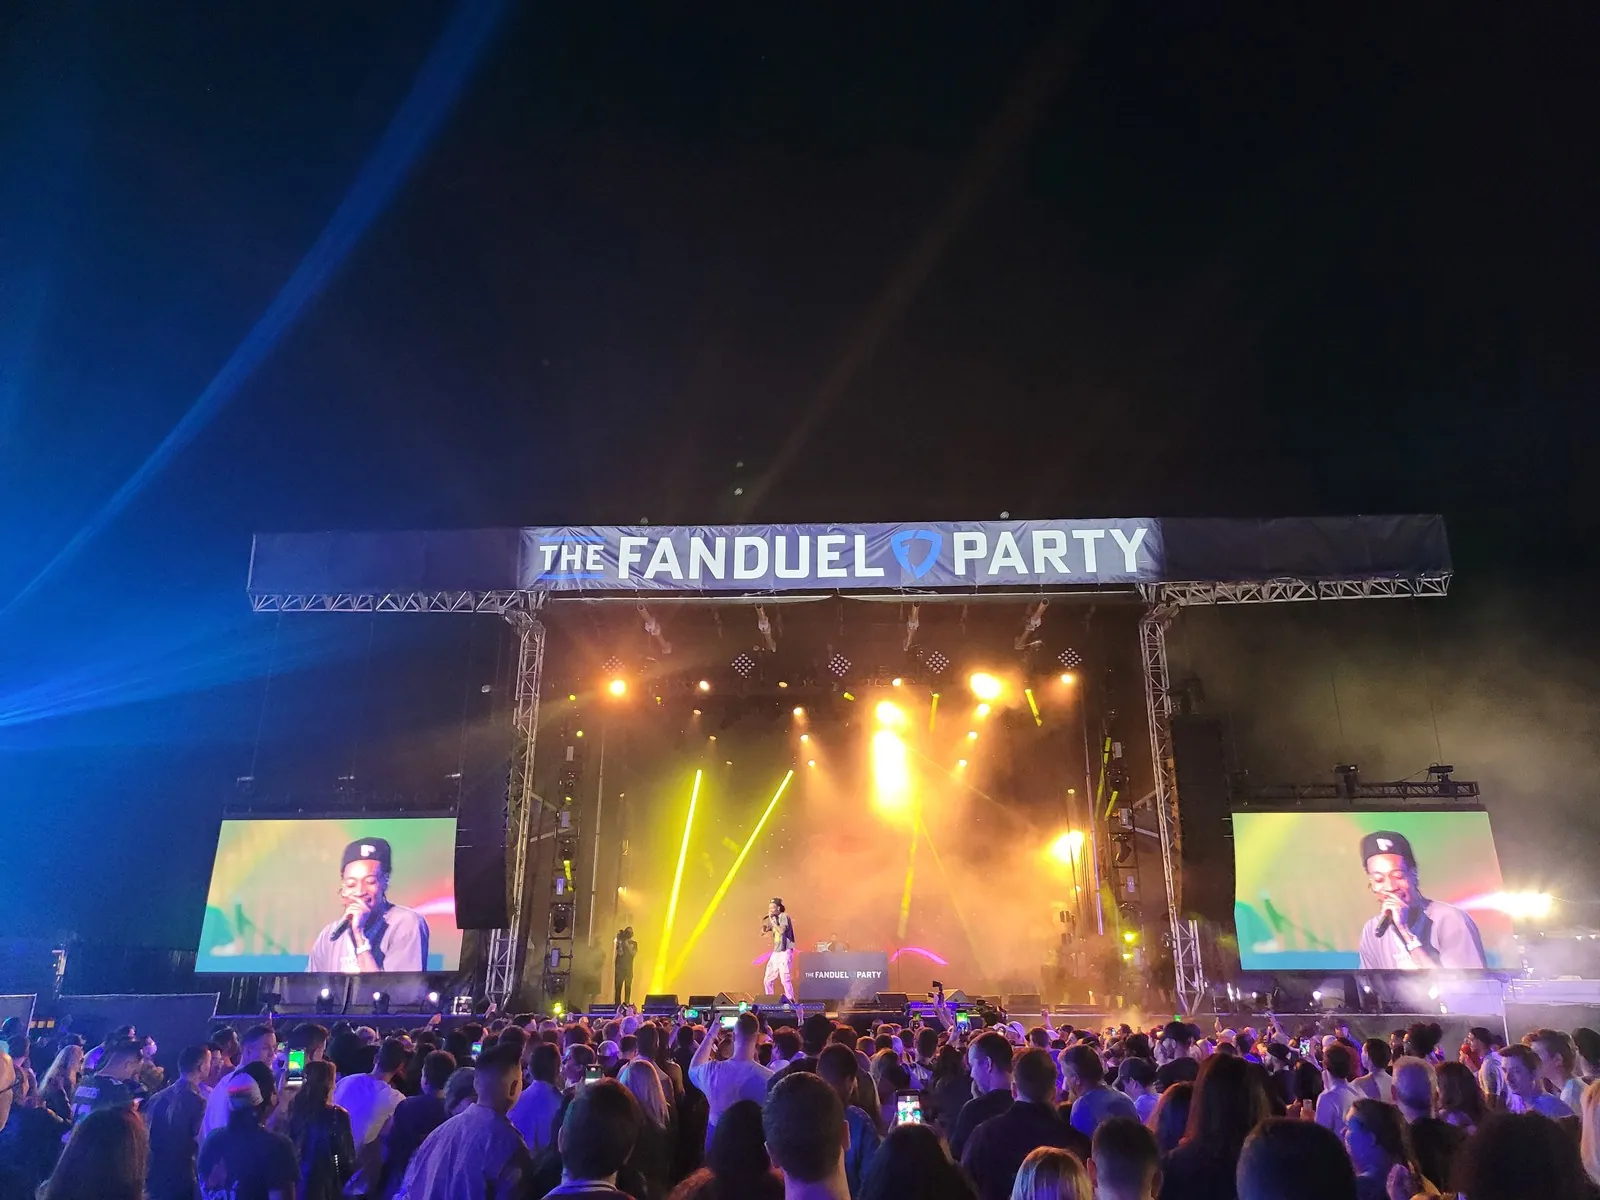
Styled shots, set up specifically for the camera, give you full control over layout and cleanliness. Real-event photos, captured during an actual booking with permission from the client, carry credibility that a staged shot cannot fake. A photo of a packed dance floor or a full corporate audience tells a planner that other people trust this space with their event.
Make a habit of capturing a few clean frames at every event you host, with the client’s okay. Over a year you build a library that keeps your listing fresh and lets you match photos to each inquiry’s event type. This is exactly the kind of asset a venue platform like ShoSoft helps you keep organized alongside each booking, so the right images are easy to pull when a planner asks.
When to Hire a Pro
You can get a long way with a phone, a tripod, and good light. There is a point where a professional pays for itself.
If your hero shot and your wide shots are not landing after a serious attempt, hire a pro for those. A half-day shoot for a small venue commonly runs 500 to 1,500 dollars, and a single booking it helps win usually covers that several times over. Bring the pro in once a year, or whenever you renovate or change your primary event focus, and use your own ongoing real-event captures to fill in between.
Reshoot Your Worst Photo This Week
Open your listing and find the single weakest image, the dark one, the cluttered one, the empty room with chairs stacked in back. Stage that space properly, shoot it in good light, and swap it in. Then put a recurring note on your calendar to refresh your photo set every season. The room is doing the work already. Good photography is just making sure planners can see it.